When you click on a page, scroll past this week's featured photo to view.

WELCOME!

This site is dedicated to sharing what we have learned with you! Enjoy our tutorials, and if you have a question please feel free to ask! I know one of our sugar enthusiasts will either know or try to find the answer.
We all have something to share...and we all have something to learn!


___________________________________________________________


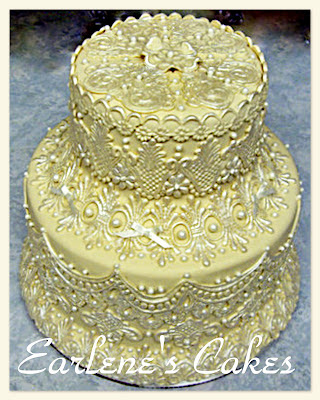
Nothing says Irish like Beautiful Lace

Nothing says Irish like Beautiful Lace
Click on photo for Earlene Moore's tutorial for beautiful fondant lace and have fun with your next cake!


.............................................................................................................................

/////////////////////////////////////////////////////////////////
.............................................................................................................................


Showing posts with label Western. Show all posts

Sunday, October 17, 2010

Western Belt Buckle

Belt Buckle Tutorial


Gray Colored Firm Gumpaste

Fondant Roller

Oval Cutter

Textured Roller, Impression Mat, or Stamp

Mini Texas Cutter

Gum Glue ( 1/4 tsp Tylose with 1 Tbsp hot Water)


Gold and Silver Highlighter mixed with Everclear

Art Brushes


Roll out gumpaste to about 1/8" thickness on a dusted board.
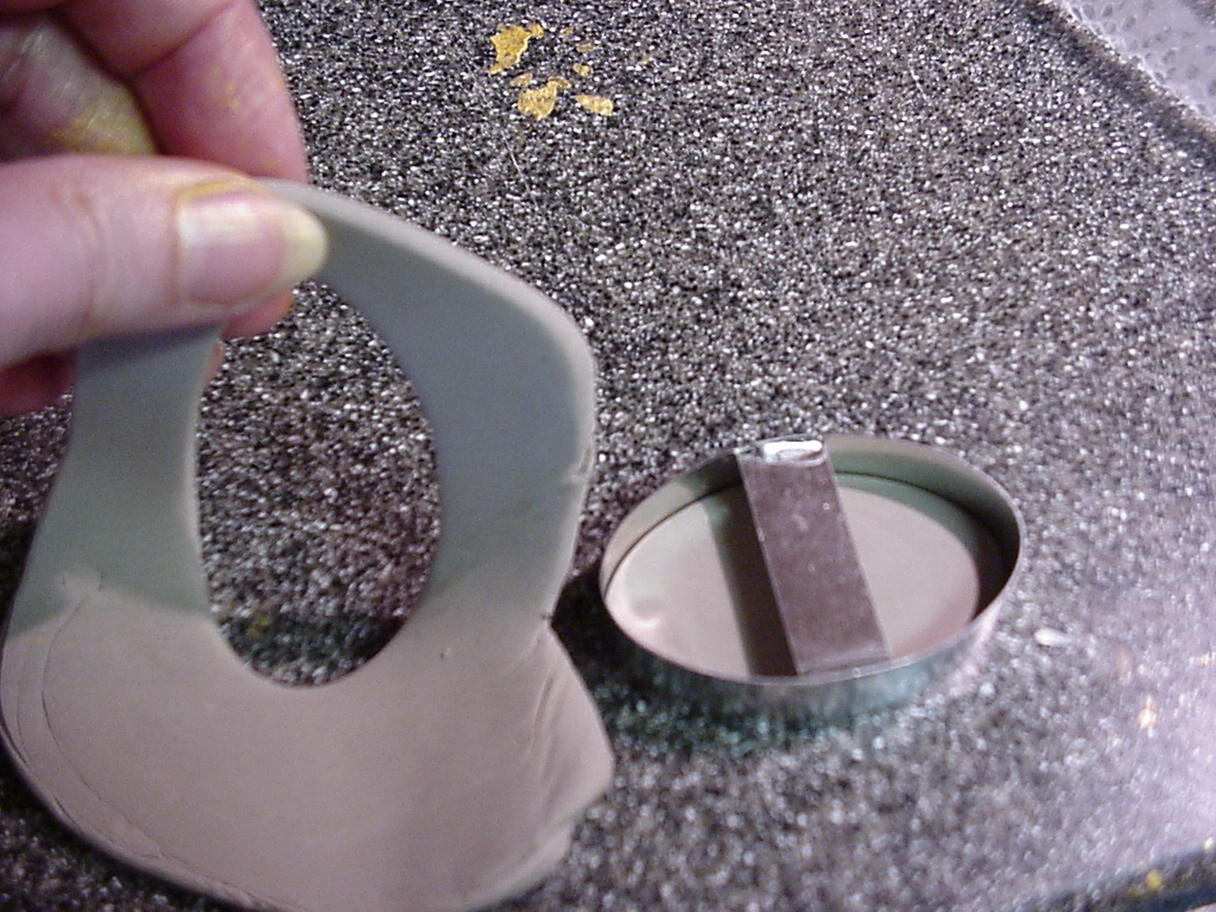
Cut out an oval using cutter  ( If you need a different size, make
an oval pattern and cut it out using a PME wheel cutter)
Texture your buckle with a textured roller, Impression mat, Stamp design
or with another impression you find around your house that will make
an appropriate design.

I used the impression from an Ivory Carving set
we use at Thanksgiving to carve the turkey!
Roll out a very thin piece of gumpaste. I used a mini Texas cutter, but
a star, longhorn, or a smaller oval cutter will work well too.

Moisten the back of the piece and attach to the center of the buckle.

Roll out a very thin cord of gumpaste and press into a small bead mold.
This one was a bead mold from First Impressions.
Attach to the edge of the buckle using gum glue.

Place on the side of a cake pan or dummy to dry completely.

Paint the buckle with silver highlighter and the contrasting
pattern piece with gold highlighter. If desired, you can contrast the
bead border with gold highlighter.

Spray with sugar lacquer.

If you want to monogram the buckle, use the Script Tappits to cut the
desired monogram. Moisten the back of the monogram with gumglue
and attach to the center of the buckle.

Paint with silver highlighter luster dust, then spray buckle again with lacquer.

Attach to your cake using piping gel or buttercream.

Be creative using different shapes, sizes, textures, cutters and borders to make a wide array of
western belt buckles!

Tutorial and Photography by Jacque Benson, copyright 2010
This material may not be republished or reproduced in any manner without the expressed permission of the author.

Monday, August 2, 2010

Sugarpaste Silver Spurs Tutorial


Gray colored firm gumpaste. This really needs to be a very firm paste.

Fondant roller


Gum Glue ( 1/4 tsp Tylose mixed with 1 tsbp hot water )

(for decorative use only)


Roll out gumpaste about 1/8"(*or a bit more) thickness on a well dusted board.( *A bit thicker is better

on the spurs to maintain stability during the drying process.)

Using wheel cutter, cut one using pattern. Flip pattern and cut one more.

Cut one spur using the daisy cutter.
***
Texture your spurs using a textured roller or impression mat. Or find something around your house that

would make an appropriate texture. In this case, I used an ivory cased carving set. It worked great to

make a western style impression.

In this photo, I used a textured rolling pin.

***

Cover the spurs with plastic wrap to protect from drying,

and paint the daisy using gold highlighter.


Uncover and turn the spurs over. Using the white colored portion
of your pattern as a guide, moisten the spurs with gumglue.

Place the daisy at the end and gently press the moistened spurs into the daisy.
Now press the spurs together as shown.

Position the circle cookie cutter on the top of a tall water glass.
Place the spur on the cutter ( as shown) to dry.
If your spurs want to slip, secure lightly with tape.
The firmer the gumpaste, the less likely to move or stretch.


When dry paint the spurs with silver highlighter luster dust and retouch the
daisy if necessary, then
spray with sugar lacquer to set the luster dust.

***
Spur Pattern Below

***


Tutorial and Photography by Jacque Benson
Copyright 2010
This material may not be republished or reproduced in any manner without the expressed permission of the author.

Search This Blog

The Tutorials This Week Were Generously Shared by

RHONDA CHRISTENSEN, EARLENE MOORE, BOBBIE NOTO, EDNA DE LA CRUZ & TONI BRANCATISANO

And to ALL of our Readers...

Above all, have fun and keep baking!

Think CHOCOLATE!

A Very Sweet Tutorial by Bobbie Noto

A Very Sweet Tutorial by Bobbie Noto
I was instantly in love when Bobbie Noto shared this cookie with SugarTeachers! She is an amazing talent. For instructions on how to create this adorable cookie, click on the photo and don't forget to subscribe to Bobbie's website!

Pillow Cake Tutorial by Toni Brancatisano

Pillow Cake Tutorial by Toni Brancatisano
How beautiful! A great tutorial shared byToni Brancatisano. Click on photo to see the tutorial!

Pistachio-Cardamom Cake

Pistachio-Cardamom Cake
Click on link for Edna De La Cruz's dee-lish cake recipe.

Related Posts with Thumbnails