

After designing and baking your gingerbread house, it is time to assemble and decorate. Here are a few tips for assembly, followed by suggestions for decoration. Ultimately, it is your creation, so you can keep it simple or make your house as elaborate as you desire
Supplies
- Gingerbread pieces
- ½” foam core
- ¼” foam core for small houses
- Pencil
- Ruler
- Xacto Knife
- Royal Icing **
- at least 4 unopened cans to use as weights to stabilize while drying
- small embroidery scissors
- gelatine sheets

Lay out your gingerbread pieces out flat with house corners
touching on a sheet of paper.

Move two facing sides inside the corner by exactly the width
of your gingerbread. If your baked pieces are ¼” thick, then move two sides
inward by ¼” each side.


With a pencil, trace the inside space. Straighten lines and shore up the corners
to be a perfect right angle (90 degrees,) then cut the pattern for your
foundation.

Lay the pattern over ¼- ½” foam core. Trace the pattern and
cut the foamcore. If you are adding additions to your house, cut the addition to your pattern. The additions will be built on separate foundations and secured together later.


Run a bead of royal icing around the edge of the foam corn
and set up two corner walls, securing with royal icing.
 At this point, it is easier to secure your windows. Using embroidery scissors, just cut a square of gelatine sheets and secure with royal icing.

You can also use poured sugar windows made ahead of time, then glue in with royal icing. It is easier to affix the windows while flat, but you can also place inside before you place your roof, if you like.


You can also use poured sugar windows made ahead of time, then glue in with royal icing. It is easier to affix the windows while flat, but you can also place inside before you place your roof, if you like.


Pipe an extra line around each corner and allow to set for a
few minutes until secure.
Pipe a line of royal icing around the top edge of your
walls.


Place the roof. Depending on how large your house is and how heavy the roof, it may be necessary to secure with reinforcement (extra cans).
Pipe royal icing at the seam where roof meets on top.
Allow to set until dry.
Steeples and Chimneys can be constructed at this point,
securing with royal icing.
Allow to dry before attaching to roof.

*If you have additions on your house, construct separately
and allow to dry, then attach to the rest of your structure. At that point, you
can add the roof.

Let the house completely dry before moving to the next
step…the fun part! Decorating the house!

When the icing securing the roof has completely hardened, your house can be decorated with Fondant, Pretzels, Cereals, Candies ( gum drops, mints, pastilles, skittles, hard candies ect) Shredded wheat, Pastas, bitesized crackers, lentils, or beans!
Just use your royal icing to secure the decorations.
When dry the icing will act as a glue and hold the decoration firmly in place. For my houses, I cut fondant strips and overlaid them on the exterior.

For one house's roof, I textured a rectangle of fondant to make a shingled roof,
Just use your royal icing to secure the decorations.
When dry the icing will act as a glue and hold the decoration firmly in place. For my houses, I cut fondant strips and overlaid them on the exterior.

For one house's roof, I textured a rectangle of fondant to make a shingled roof,

but pastilles can be used to make a wonderful shingled roof or siding too.

For a fast and easy shingled roof, just pipe scallops directly onto your gingerbread roof!
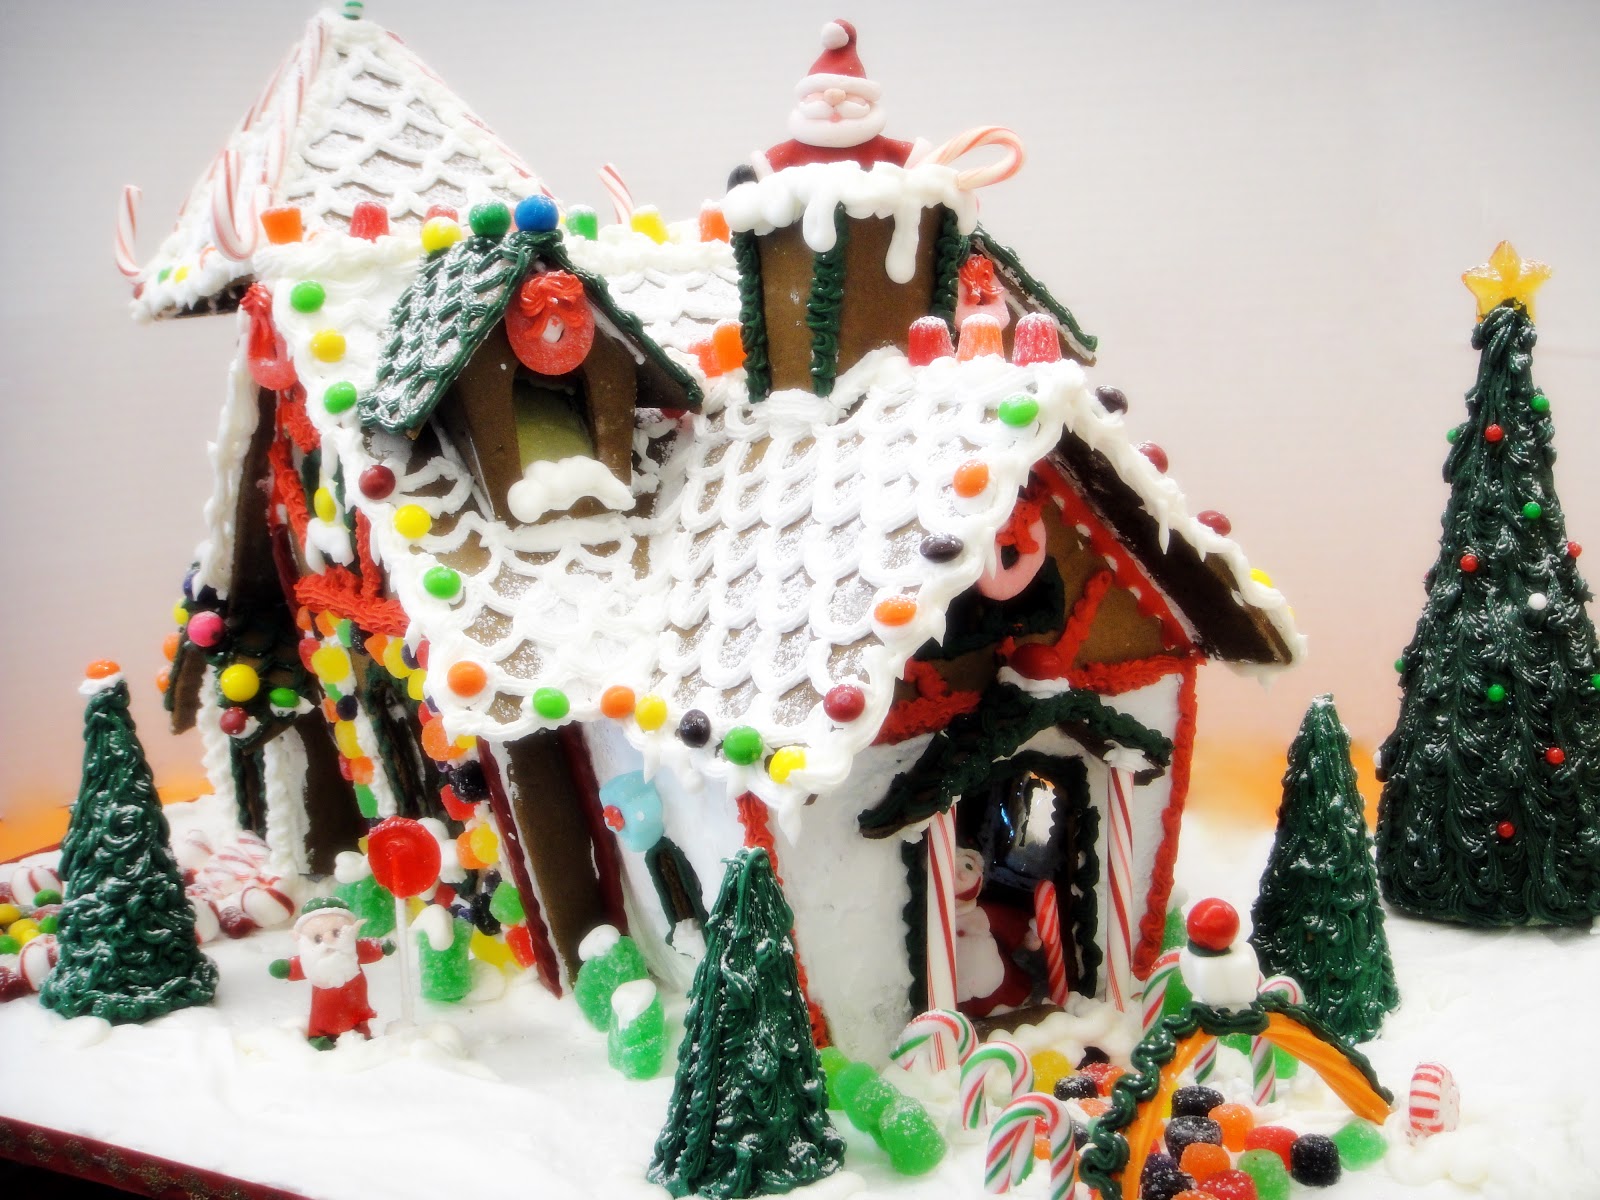
You can also spread a layer of "snow" made of royal icing.

There are no rules now. Anything goes as long as it is edible.
Wilton makes a product called Sparkle Gel.
I used it to make icicles, but you can also pipe icicles using royal icing.

Just be creative and have loads of fun. That's what it is all about!
**Royal Icing Recipe
6 Tbsp meringue powder
12 Tbsp water
2 lbs powered sugar
Mix all ingredient until moist, them beat at a low speed for 7 minutes. Keep icing covered with a moist cloth when not in use to prevent hardening.
Copyright - All rights reserved Jacque Benson 2012
Material from this website cannot be republished or reproduced in any form without permission from the author.


