

Belt Buckle Tutorial
Gray Colored Firm Gumpaste
Fondant Roller
Oval Cutter
Textured Roller, Impression Mat, or Stamp
Mini Texas Cutter
Gum Glue ( 1/4 tsp Tylose with 1 Tbsp hot Water)
Gold and Silver Highlighter mixed with Everclear
Art Brushes
Roll out gumpaste to about 1/8" thickness on a dusted board.
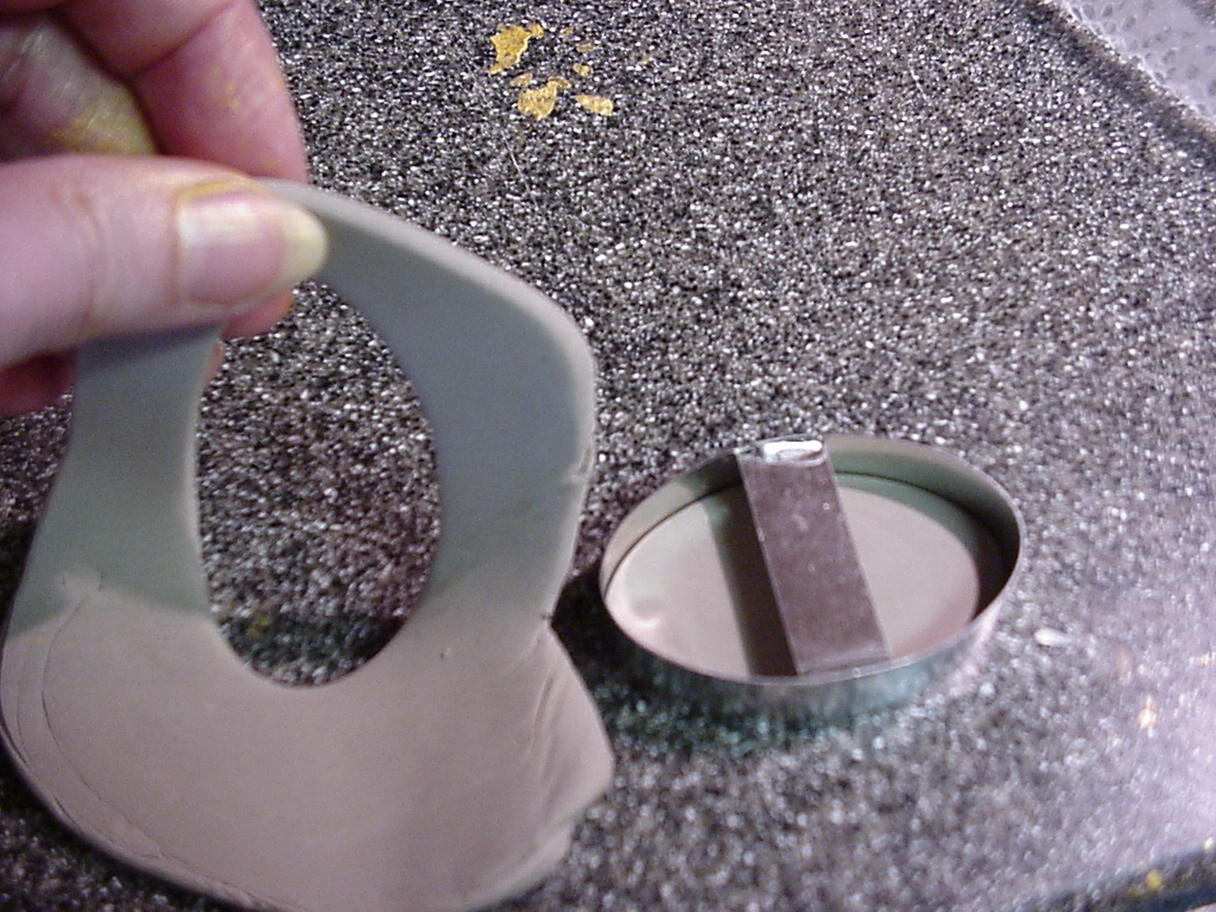
Cut out an oval using cutter ( If you need a different size, make
an oval pattern and cut it out using a PME wheel cutter)

Texture your buckle with a textured roller, Impression mat, Stamp design
or with another impression you find around your house that will make
an appropriate design.

I used the impression from an Ivory Carving set
we use at Thanksgiving to carve the turkey!


Roll out a very thin piece of gumpaste. I used a mini Texas cutter, but
a star, longhorn, or a smaller oval cutter will work well too.
Moisten the back of the piece and attach to the center of the buckle.

Roll out a very thin cord of gumpaste and press into a small bead mold.
This one was a bead mold from First Impressions.
Attach to the edge of the buckle using gum glue.


Place on the side of a cake pan or dummy to dry completely.
Paint the buckle with silver highlighter and the contrasting
pattern piece with gold highlighter. If desired, you can contrast the
bead border with gold highlighter.
Spray with sugar lacquer.
If you want to monogram the buckle, use the Script Tappits to cut the
desired monogram. Moisten the back of the monogram with gumglue
and attach to the center of the buckle.
Paint with silver highlighter luster dust, then spray buckle again with lacquer.

Attach to your cake using piping gel or buttercream.
Be creative using different shapes, sizes, textures, cutters and borders to make a wide array of
western belt buckles!
western belt buckles!
Tutorial and Photography by Jacque Benson, copyright 2010
This material may not be republished or reproduced in any manner without the expressed permission of the author.


No comments:
Post a Comment
We really appreciate your comments and always look forward to hearing from you!
However we do not like spam, derogatory comments, or foul language. We would appreciate it if your would refrain from doing so or your comment will be deleted.